> For the complete documentation index, see [llms.txt](https://docs.greytrix.com/llms.txt). Markdown versions of documentation pages are available by appending `.md` to page URLs; this page is available as [Markdown](https://docs.greytrix.com/gumu-salesforce-integration/sage-intacct-1/user-guide/promotion/promote-account.md).
# Promote Account
Below are the steps to verify the Account Promote functionality.
Create an “**Account**” in Creatio and click on the “**Promote to Sage**” button.
Once a record is promoted into the Sage Intacct system, a unique ID will be updated in the Creatio system to ensure a linked record in both systems. The unique ID will be used to update the record in both systems during subsequent updates.
In the above example, Customer Number with “**CST1-173**” will be visible in Sage Intacct ERP.
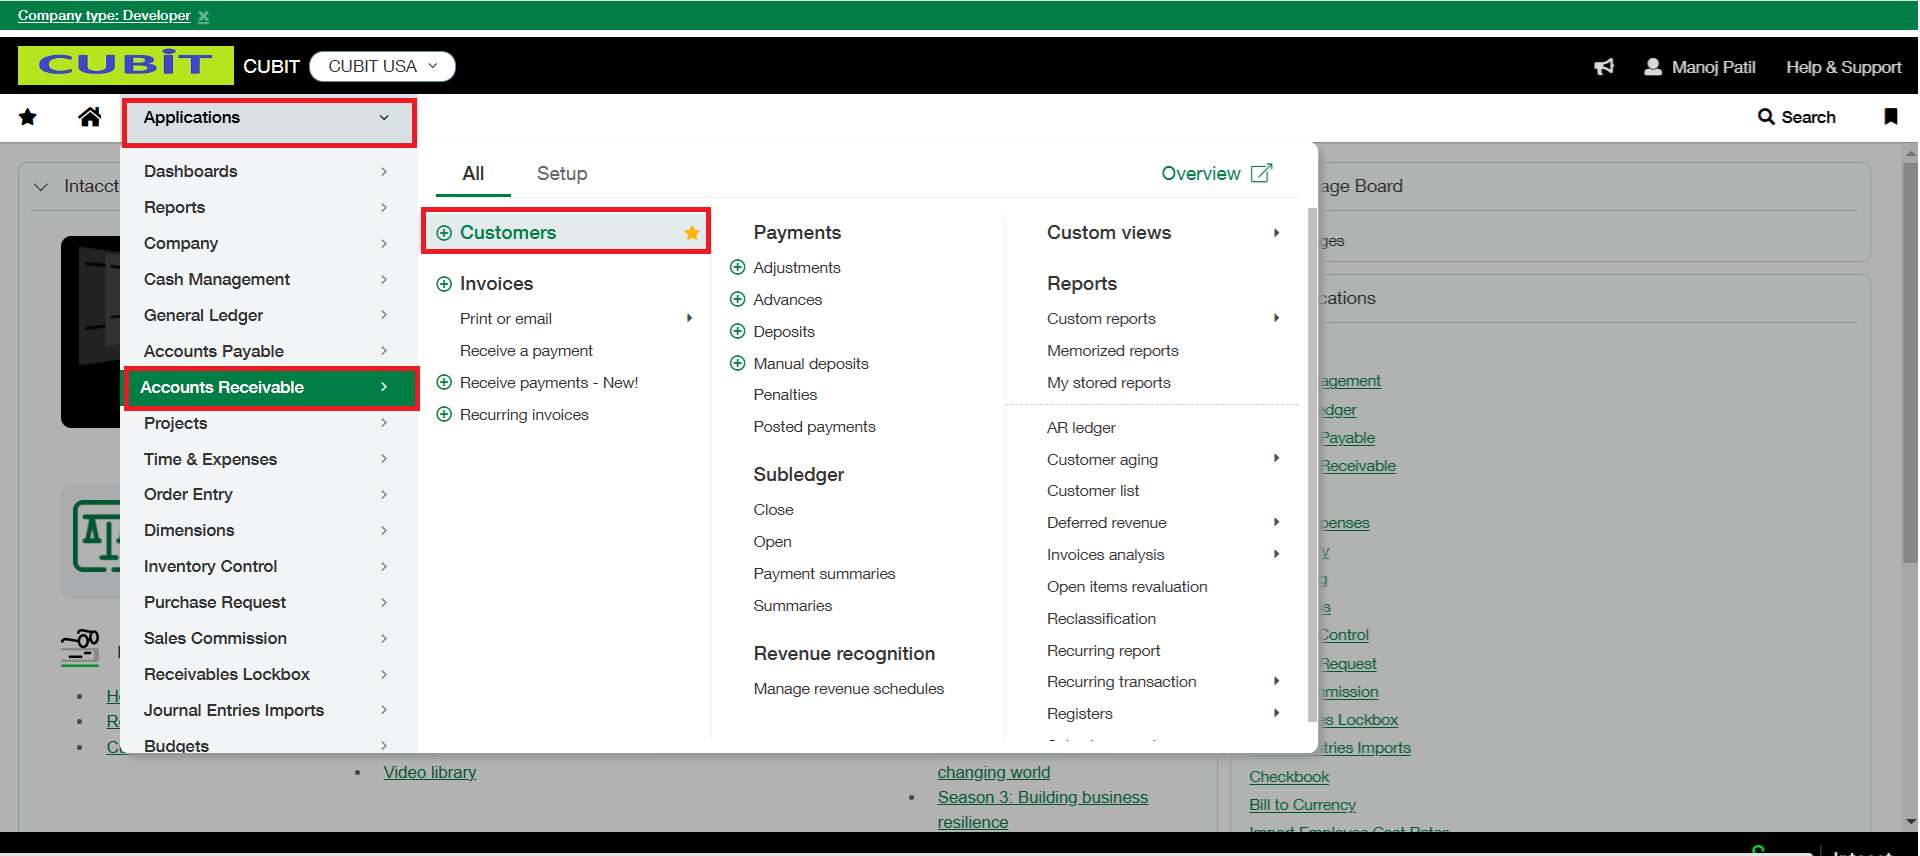
In Sage Intacct ERP, select “**Customers**” options by navigating from Applications | Accounts Receivable | Customers as shown below.
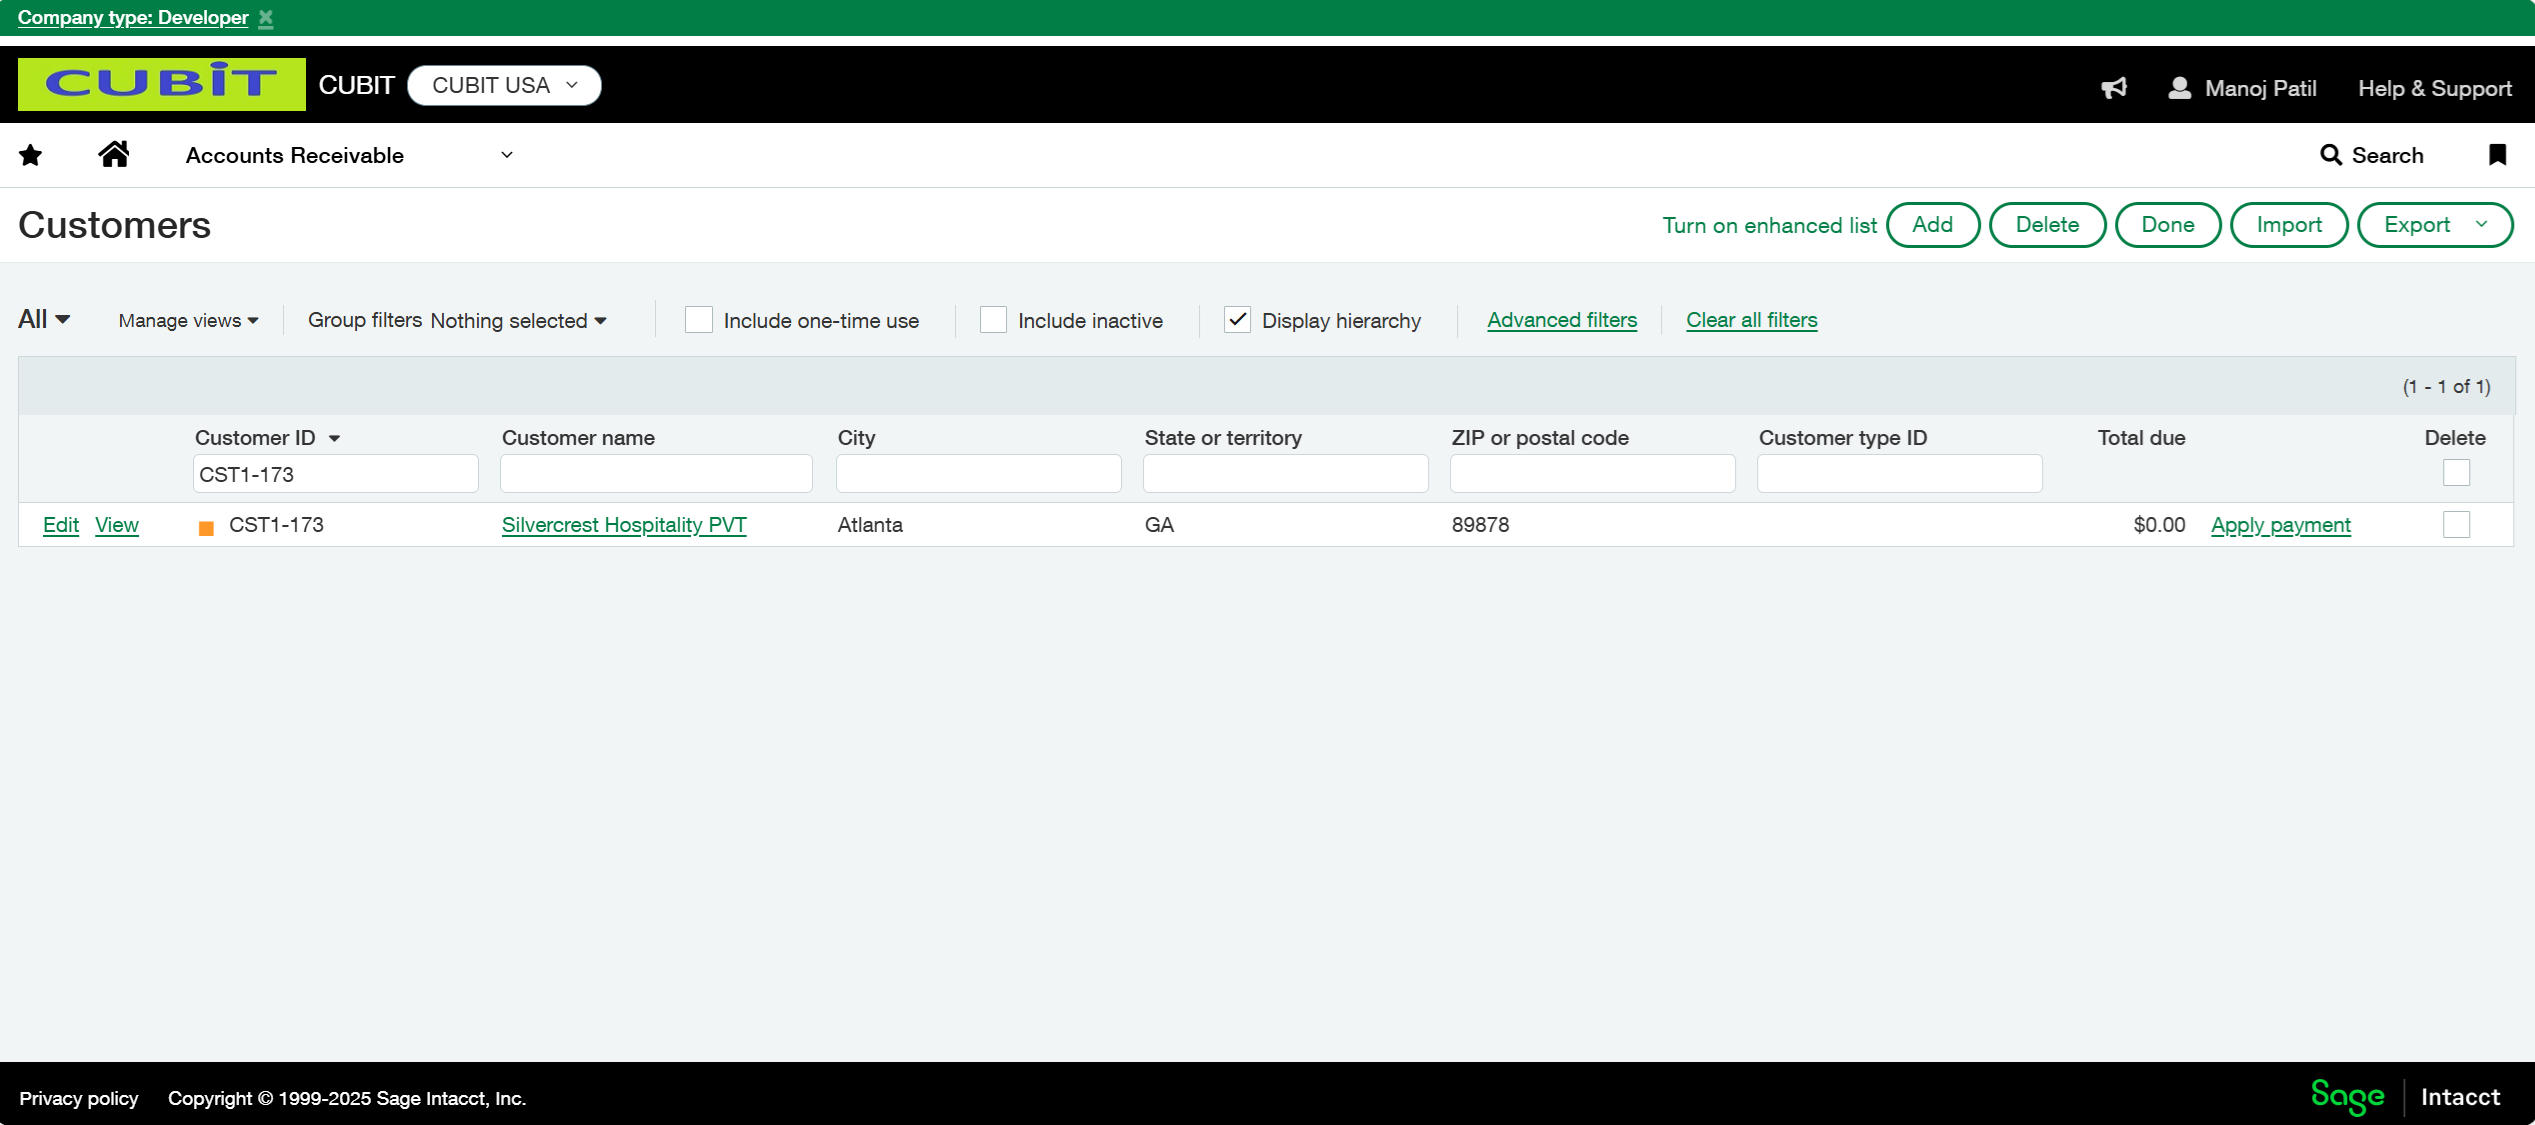
Put “**ERP Customer Number**” in the Customer ID field as shown below and click on the Enter button of keyboard. On click of enter button, Customer Promoted from Creatio will be visible here.
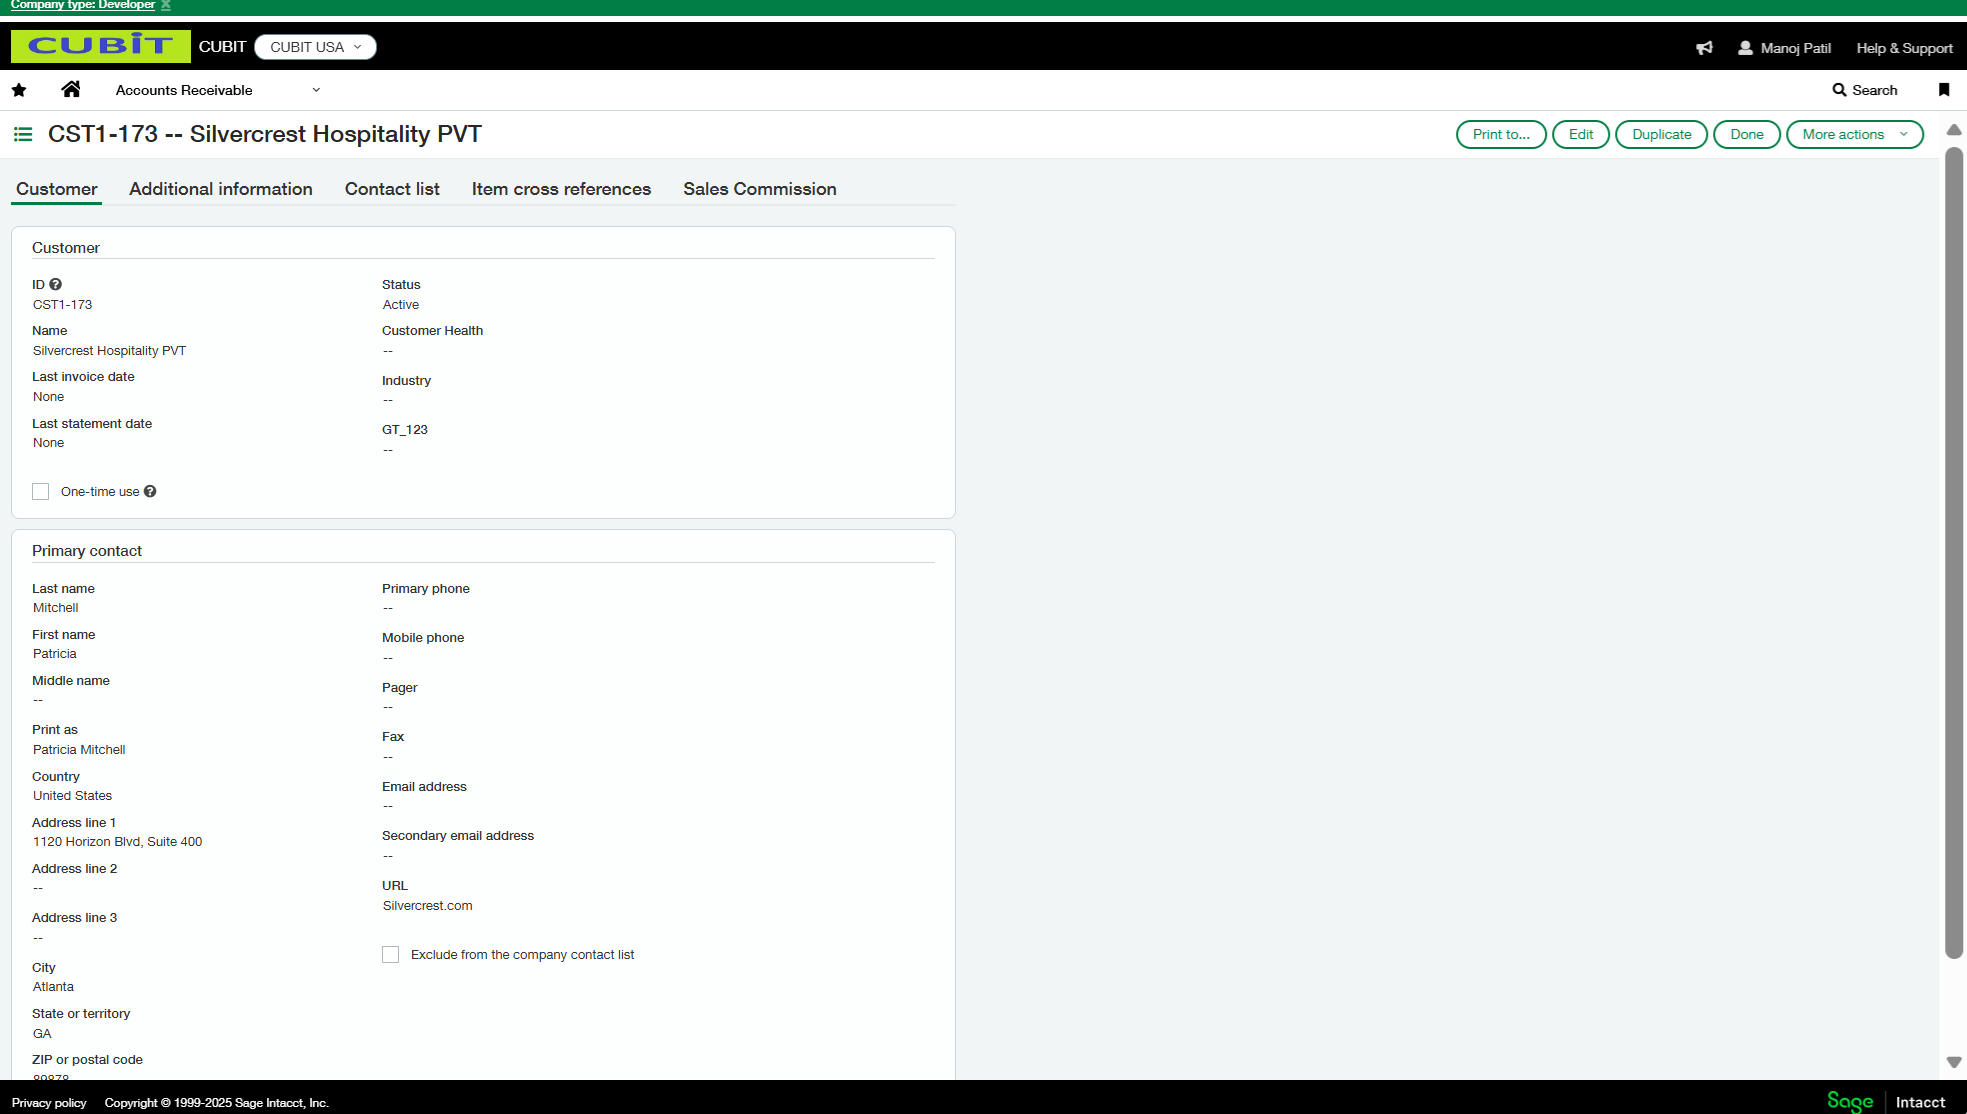
Click on the **View** button hyperlink to review the Customer details.